Home Needs Some TLC
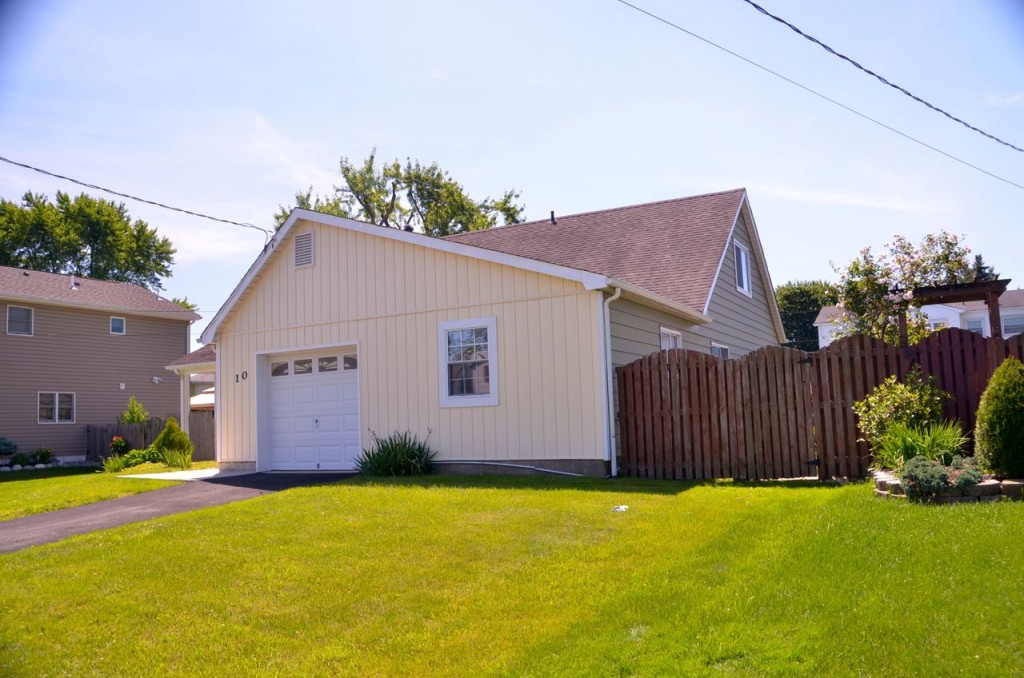
This article will show you how easy it is to help a neighbor in need. We had a home across the street from us that was vacant for a couple of years and a year ago went into foreclosure. The previous owners never invested in their home over the years and it was not cared for. I had volunteered many times to help them landscape the front of their house, but they had no desire to do so.
There were problems with their marriage and it eventually ended in divorce. The wife had stayed for a couple of years in their home, until the bank took it over. This house was one of the best examples of a family without the funds to make any improvements and no desire to even do the simple changes.
The exterior and interior of the house was in poor condition. I don’t think anyone of the neighbors had ever been in their home in all the years they lived here. It went up for auction and a nice young couple purchased it as an investment opportunity. Not realizing the size of the financial commitment that would have to be made to bring this house back up to code, they ended up spending over $70,000 to basically redo the entire interior of the house. New kitchen, bathrooms and even converted their attic to a second floor living area including a new bathroom. It took many months to get all the work done and there were delays due to long waits to get the code office to inspect the work.
This put a strain on their budget and they had problems with their contractors who couldn’t continue the job until the inspections were done. Finally, everything was approved and work continued, but the time and money lost on this job meant there was nothing left for landscaping or some of the other projects they may have wanted to do.
I watched them struggle and each month the house didn’t sell, I knew this couple had to pay the taxes on the home and bank notes. Some neighbors simply didn’t want to get involved, but being the type of person I am, I decided to approach the owner and volunteer to help them. I have so many beautiful plants that continue to multiply and expand in my gardens that I knew I could landscape the front of the house with some of my plants.
The Landscaping Before
Click on any image to enlarge and view as a slide show..
We made a plan to give this home some curb appeal where there was none before. The first order of business was to create the outline of the two planted areas we were going to create in the front of the house. It was going to me and the homeowner that would do all the work. It was a hot day in the mid to high 80’s, but we were determined.
With a rubber hose, we outlined the area on one side, using a flat shovel we cut into the ground at a 45 degree angle to create our outline. Then we did the same on the other side, which had a bit of form and a mound where they did have a couple of trees growing.
Click on any image to enlarge and view as a slide show..
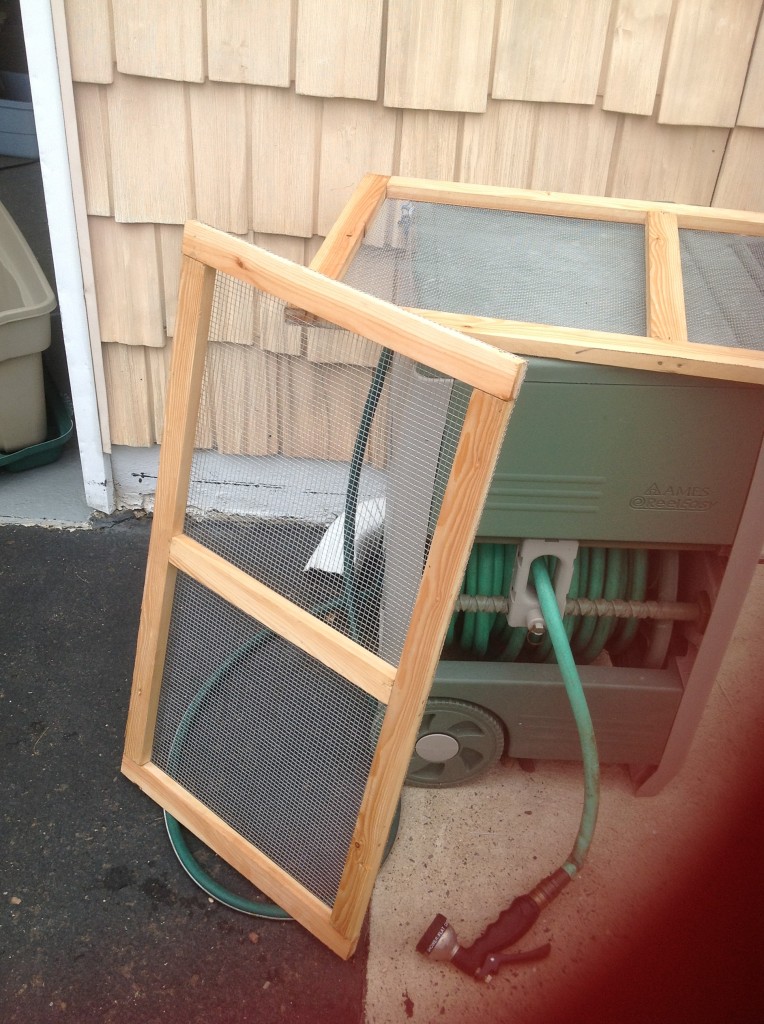
Next step was to remove all the old grass. In order to preserve the soil and lessen the burden of disposing of hundreds of pounds of soil and plant material, we took one of the 1/8″ screens in a wooden frame that I made to screen my worm compost material from the worms and used that for screening the soil. I put it over the top of a wheel barrow. As we cut a piece of sod it would go into the screen frame and I would shake it and push the soil through the 1/4″ holes in the screen.
 It took some time to do this, but it was well worth the extra effort. We recovered four full wheelbarrows full of good top soil and eliminated a few hundred pounds of waste material that we would have had to dispose of.
The soil went back into the two new areas we created along with hundreds of pounds of top soil and garden soil we purchased at Lowe’s. Now the reason we bought this material at Lowe’s is because they have a policy of selling broken bags of material at 50% off the original price. Going there on a week-end meant we could find enough material at half price and stay within our $100 budget. Yes, you read right, we had a total of $100 to landscape the entire front of this house.
Cultivating, Grading and Raking
On the right side of the home the ground was flat and nothing was ever planted there by the original owner. So we needed to build this up with the soil we purchased. I own a nice little electric cultivator and we were able to break through the hard ground, mix the new top soil we purchased, added a nice amount of organic material in the form of peat moss and then raked it all into the final shape we needed. Higher in the back with a gradual slop to the front to make sure water washed away from the house and not toward it.
Selecting Plants From My Garden
Once this was done we took our wheelbarrow to my garden and began to pick the plants we wanted for the two new areas. I have so many Hostas growing so this was the first thing we dug up and planted. We then selected some lovely, small Iris plants, that has already flowered for the season, but their long straight leaves gave us some height and a nice tall grass like look.
We also selected a nice grouping of larger Iris’s and planted those in a group. I have a number of decorative grasses that are low to the ground and one has some nice yellow and pale green leaves. Perfect for the front of each side of the house. We continued to fill it in with other plants including Spearmint, Peppermint, Marigolds, and other decorative plants. Once we finished the planting, we put bags of brown mulch down and around the plants. I added a few nice stones to the plantings that were gray and watered it thoroughly.
We still needed some attractive annuals for color and we went to Costco in Hazlet and saw they had recently marked down their large planters that sold for $19.99 in the beginning of the season. They were now $9.97 and we bought two of them. We had a couple of large bags of potting soil remaining and they were enough to fill these two planters. Going back to my garden, I selected some Impatiens, some Marigolds and a few other flowering plants for our two planters. Mulch went on top and after watering them, we were done.
The difference this made to the curb appeal of this house is amazing and as the plants take root and start to fill out it will be even nicer. So keeping under $100 and spending two full days in the sun for both of us was truly worth the effort. Now we will see if this has paid off and monitor the comments from those that see the house.
It does take some hard work to establish your lawn and garden, but if you maintain it, you will be rewarded in not only the pleasure you get when you come home each day, but in the value it has added to your home and property.
Neighbors helping neighbors, helps all of us that live in Hazlet. I urge all of you that read this article to do as I have done. Reach out to your neighbors to ask for their help or offer yours to the neighbors that seem to need it the most. Of course when you do ask for help, be sure your neighbor has the knowledge to help you do the job properly, if not reach out to us with your questions of guidance, that is why the Hazlet News was created, we are here to help you too.
 The Hazlet News We're Not Just About Hazlet


No comments
Pingback: How My Dog Georgie Helped Save My Life-A True Story - IMPress Magazine